Contributing to OSC-Hide-And-Seek
1. Clone the repository
-
First, navigate to our Github repository and find the green code button near the top right. Click on it and copy the link that appears in the dropdown.
-
Next, in your terminal/command prompt, navigate to the folder/location you would like your repository to be in.
-
Then clone your repository and enter the directory it creates:
$ git clone <paste your repository address>
$ cd <the newly created directory>
2. Find an issue to work on
Unlike other OSC source projects, we will not be assigining issues. Instead, work on issues will be kept track of using feature branches. When you start working on an issue, rather than completing work on your own fork, you will create a branch on the main repository.
This prevents the problem of work being lost if someone doesn’t finish their work on an issue. If work on an issue gets abandoned, someone else can pick up from where it left off.
-
Look at the issues page on Github to find issuess that are currently open.
-
Check if someone else has already created a feature branch for the issue you want to work on by clicking on the dropdown on Github that says
productionand then clickingView all branches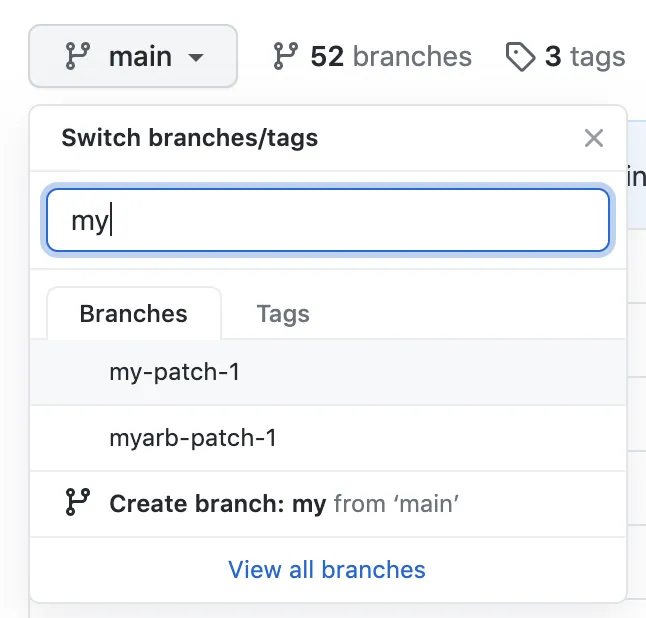
-
If your issue has not been started yet, leave a comment saying that you want to work on it so the tech leads can move the issue into
in progressIf any branch has not had activity for four days or more, you can start working on that branch, otherwise find another issue to work on.
3. Create a new branch
If you are working on a feature branch that already exists, you can skip this
step and instead run git checkout <feature-branch-name> in the terminal
-
Switch to the development branch by running
git checkout development -
Ensure that your local repository is up to date by running
git pull -
Create a feature branch according to the following naming conventions by running
git branch <feature-branch-name>(without brackets) -
Switch to the newly created branch with
git checkout <feature-branch-name>
Branch naming conventions
Branches should be prefixed with their branch type. There are two main branch types you will create:
- Feature branches are used for developing new features. Use the prefix
feature/. For example,feature/3/login-system - Bugfix branches are used to fix bugs in the code. Use the prefix
bugfix/. For example,bugfix/5/header-styling.
In addition, to these prefixes, branch names must follow additional criteria:
- Include the issue number: If your branch is realted to an issue, include
the issue number after the prefix. For example,
bugfix/12/map-crashing - Lowercase and hyphen-separated: Use only lowercase letters and hypens to separate words.
- No continuous hyphens: Do not use multiple hypens in a row.
feature/-new--logincan be hard to read - **Optionally, you can include your username after the branchname, like
feature/3/login-system-dyland88
4. Create commits and push to the main repository
Each time before you commit your code, be sure to run npx prettier --write .
and npm run lint to ensure your code has consistent formatting .
-
While writing code, you should often create commits with
git add .andgit commit -m <commit message> -
Frequently push your new commits to the main repository so other people can see your work with
git push origin. This ensures that other people won’t work on your issue at the same time!
5. Create a pull request
Once you have finished working on the issue, start a pull request to merge your branch into the development branch. One of the tech leads will approve your code before it will be fully merged.
To issue a pull request:
-
On Github, navigate to the main page of the repository
-
In the “branch” menu, choose the branch that contains your commits
-
Above the list of files, in the yellow banner, click Compare & pull request to create a pull request for the associated branch.

- Type a title in and description for your pull request
- Ensure that the description contains text
Closes #<issue-number>so the issue will be linked. For exampleCloses #5